9 MIN TO READ Video metrics tell the story of how viewers interact with your video. They serve as key performance indicators (KPIs) for videos that provide direction as you review the data, test strategies to enhance engagement, and increase ROI. From learning and development to operations, technology, and support — video metrics are essential for tracking the effectiveness of video content. Learn how…
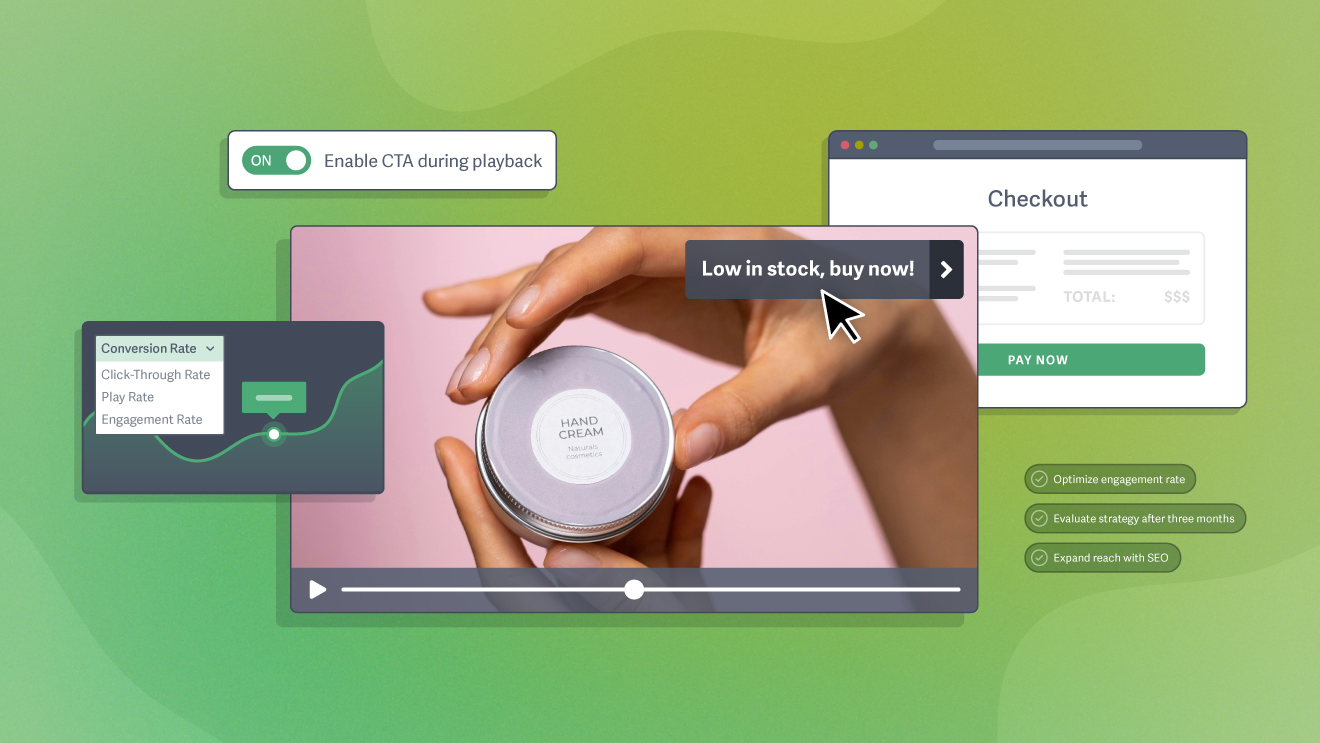
5 MIN TO READ Discover how to use video to achieve business goals in customer support, learning and development, marketing, and more. We’ll also cover the video metrics needed to measure success. Review these video use cases to set clear goals for your video strategy.

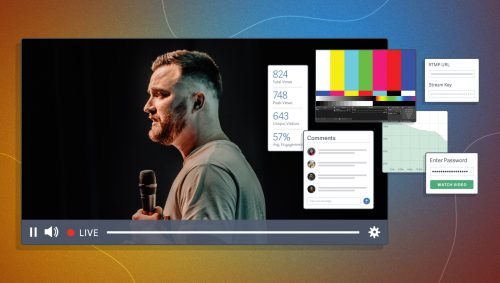
13 MIN TO READ Discover how live streaming can empower your business or organization. Live streaming metrics allow organizations to determine ROI, meet compliance standards, maintain security measures, and more. Learn how to evaluate and improve your strategy using analytics in this SproutVideo platform guide.

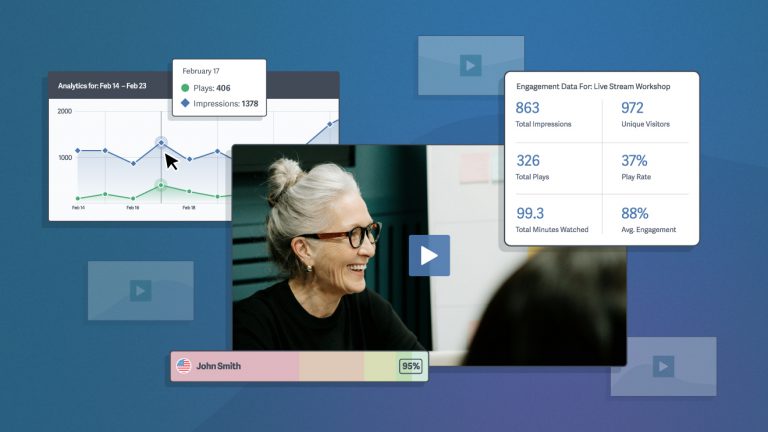
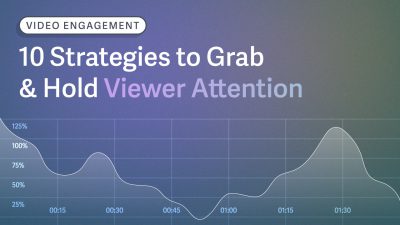
9 MIN TO READ Maximize video engagement with these research-backed strategies. Learn how to measure engagement and evaluate the data. Try out these ten actionable strategies to get the most out of your video budget while building community and trust.

8 MIN TO READ Video watermarks build brand awareness and protect private content. Creators and companies commonly add static logo watermarks to photos, videos, and PDFs. But static watermarks can be removed. Discover how to watermark videos and why it’s important, plus check out examples to decide which type of watermark is best for your business.

2 MIN TO READ The SproutVideo platform is improved regularly with valuable changes for you and your workflow. This roundup of product updates allows you to customize dynamic watermarks to prevent theft, manage video assets with the redesigned download workflow, copy direct video links and m3u8 for HLS streaming, and import videos directly from third-party storage services — plus 25 more additions!

9 MIN TO READ “Thank you” videos offer a casual way to intentionally appreciate the supporters, customers, and employees who meaningfully impact your business or organization. They also encourage retention and strengthen brand positioning. In this article, we’ll look at the best “thank you” video examples and share tips for making your own.

9 MIN TO READ “Thank you” videos offer a casual way to intentionally appreciate the supporters, customers, and employees who meaningfully impact your business or organization. They also encourage retention and strengthen brand positioning. In this article, we’ll look at the best “thank you” video examples and share tips for making your own.

7 MIN TO READ With two decades in tech, Tim Ryan joins SproutVideo as the new marketing leader. His experience ranges from incubating and building early-stage startups to helping Fortune 500 companies grow. Do you remember when you went from 12 to 13 years old? It’s a transitional age when the mental shift into teenage years, while sometimes awkward, leads to exciting new ways…

16 MIN TO READ Hundreds of companies are jumping on the artificial intelligence bandwagon, creating an overwhelming amount of AI tools. In an effort to see if these tools can actually produce professional results, we tested 30+ different AI script writers using a single, detailed prompt. The goal was to feature all of the tools that met our professional standards. We found three.

14 MIN TO READ The market for AI-generated videos has skyrocketed, increasing nearly 20% globally year-over-year. We tested dozens of AI-generative tools to create this list of the 10 best AI tools for video editing and production. Artificial intelligence is changing video editing and production as we know it. Here’s how to expedite the video production process with AI tools.
11 MIN TO READ Private live streaming is real-time video content for an exclusive, permitted audience. Live streams drive 27% more minutes of watch time per viewing than on-demand video content. And they require minimal production compared to on-demand video production. In this article, we’ll discuss the security features you’ll need and how to set up a private live stream.

SproutVideo is unveiling something truly groundbreaking. We’ve been secretly working on an innovation that will redefine how you see video. While some skeptics may dismiss it as “unthinkable” or “reckless,” we assure you, this is no prank. Our team has poured countless hours into perfecting this technology, and the results are nothing short of miraculous.


POPULAR POSTS
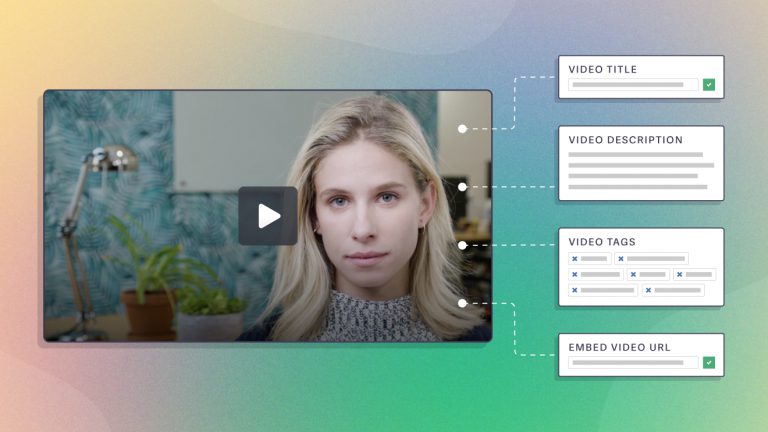
6 MIN TO READ Unlike web pages, which include keyword information, videos rely on metadata to communicate the subject matter. Therefore, metadata is essential for video SEO. This guide will teach you how to use metadata to optimize your video content for search engine discoverability.
14 MIN TO READ The market for AI-generated videos has skyrocketed, increasing nearly 20% globally year-over-year. We tested dozens of AI-generative tools to create this list of the 10 best AI tools for video editing and production. Artificial intelligence is changing video editing and production as we know it. Here’s how to expedite the video production process with AI tools.

9 MIN TO READ “Thank you” videos offer a casual way to intentionally appreciate the supporters, customers, and employees who meaningfully impact your business or organization. They also encourage retention and strengthen brand positioning. In this article, we’ll look at the best “thank you” video examples and share tips for making your own.

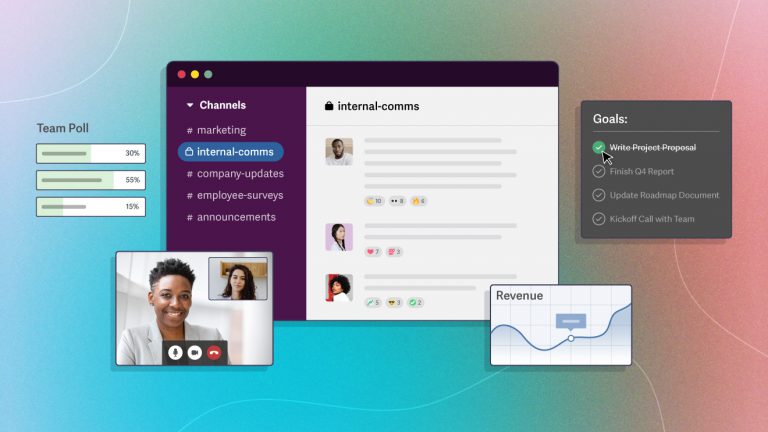
12 MIN TO READ It probably won’t take you long to recall a corporate misstep or scandal that either shouldn’t have happened or could have been handled… better. When employees and executives were asked, “What’s the main cause for workplace failures?” 86% said it was a lack of effective collaboration and communication. In fact, poor business communication cost corporations (of the 400 surveyed) an…